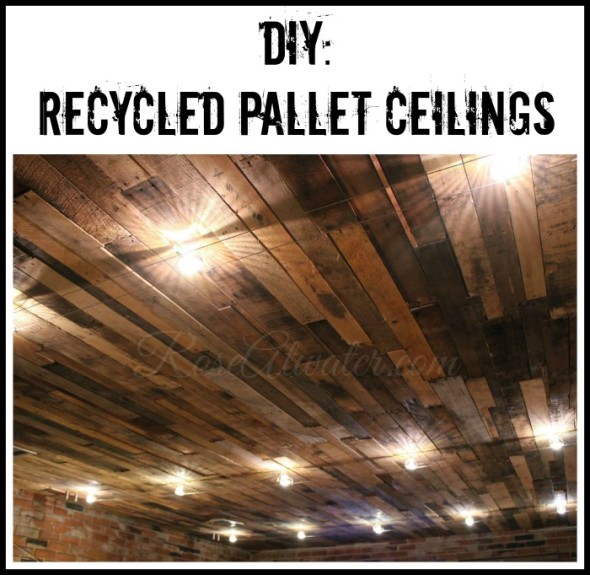
DIY: Recycled Pallet Ceiling
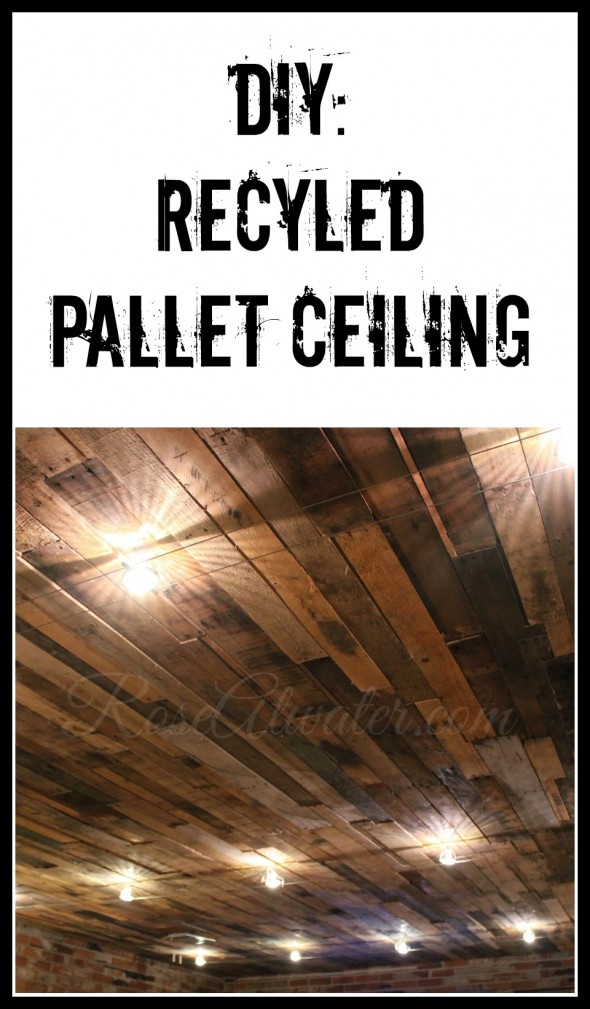
We’ve lived in this house for almost 5 years and finally, we have almost finished updating one room. Ha! I would say we’ve reached 99% done on our family room. My husband worked for over 4 months on doing the Recycled Pallet Ceiling.
Granted, if he didn’t work full time and we didn’t have other things going on all.the.time, it wouldn’t have taken so long, but he was only able to work on it on weekends (and not even every weekend) on and off from April to August of last year.
I have a few progress pictures, but not really a “tutorial” per se. I can just tell you that my husband broke down over 55 pallets (they were FREE; given to him at work – they were being discarded), then used his saws to cut them and puzzle-piece them together. We originally planned to do straight lines but neither of us realized that pallet boards are not all created equal.
In other words – they weren’t all the same width. So instead of ripping them all lengthwise to be the same width – he decided to make it more random (and complicated and time-consuming)… using the different widths as part of the “pattern”, but also more beautiful in the end!!
I asked him which saw he used so I could tell you and he said he used his circular saw, jig saw and reciprocating saw. Do you need all three of these to do this? My guess would be probably not!? But he had all of those toys so he might as well use them, right?
A little background: ages and ages ago (long before we had this house) this room was an open carport, so the ceiling was covered with 4×8 pieces of plywood then painted. Other than wiping it down and taking down the ceiling fan and existing lights, we didn’t prep the ceilings at all.
He just started nailing up the pallet boards. He’d put one up using his compressor and a nail gun with brads. Then he’d get the next one, mark any places where it needed to be cut to fit together, cut it, then nailing it up. He did them that way… one at a time…. for months! PS. I don’t recommend attempting this with a hammer and nails…. it would be an even longer and more painful process!!

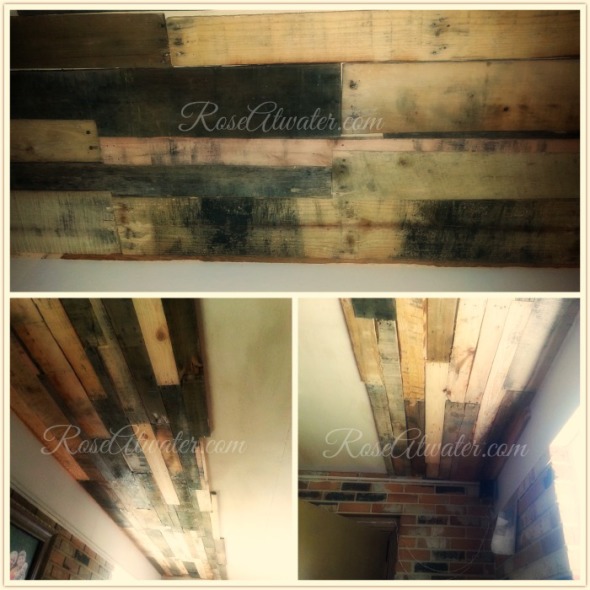
Anywho… these pictures above are of the finished ceiling without lights. They were taken after dark with hubby’s cell phone – with and without a flash, so that’s why the lighting is funky! At the time I wasn’t really planning a blog post or I’d have been more intentional with the picture-taking.
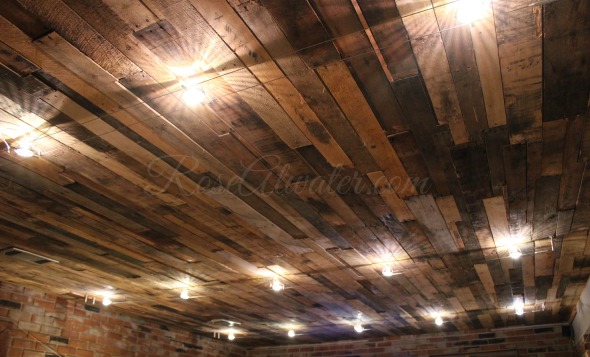
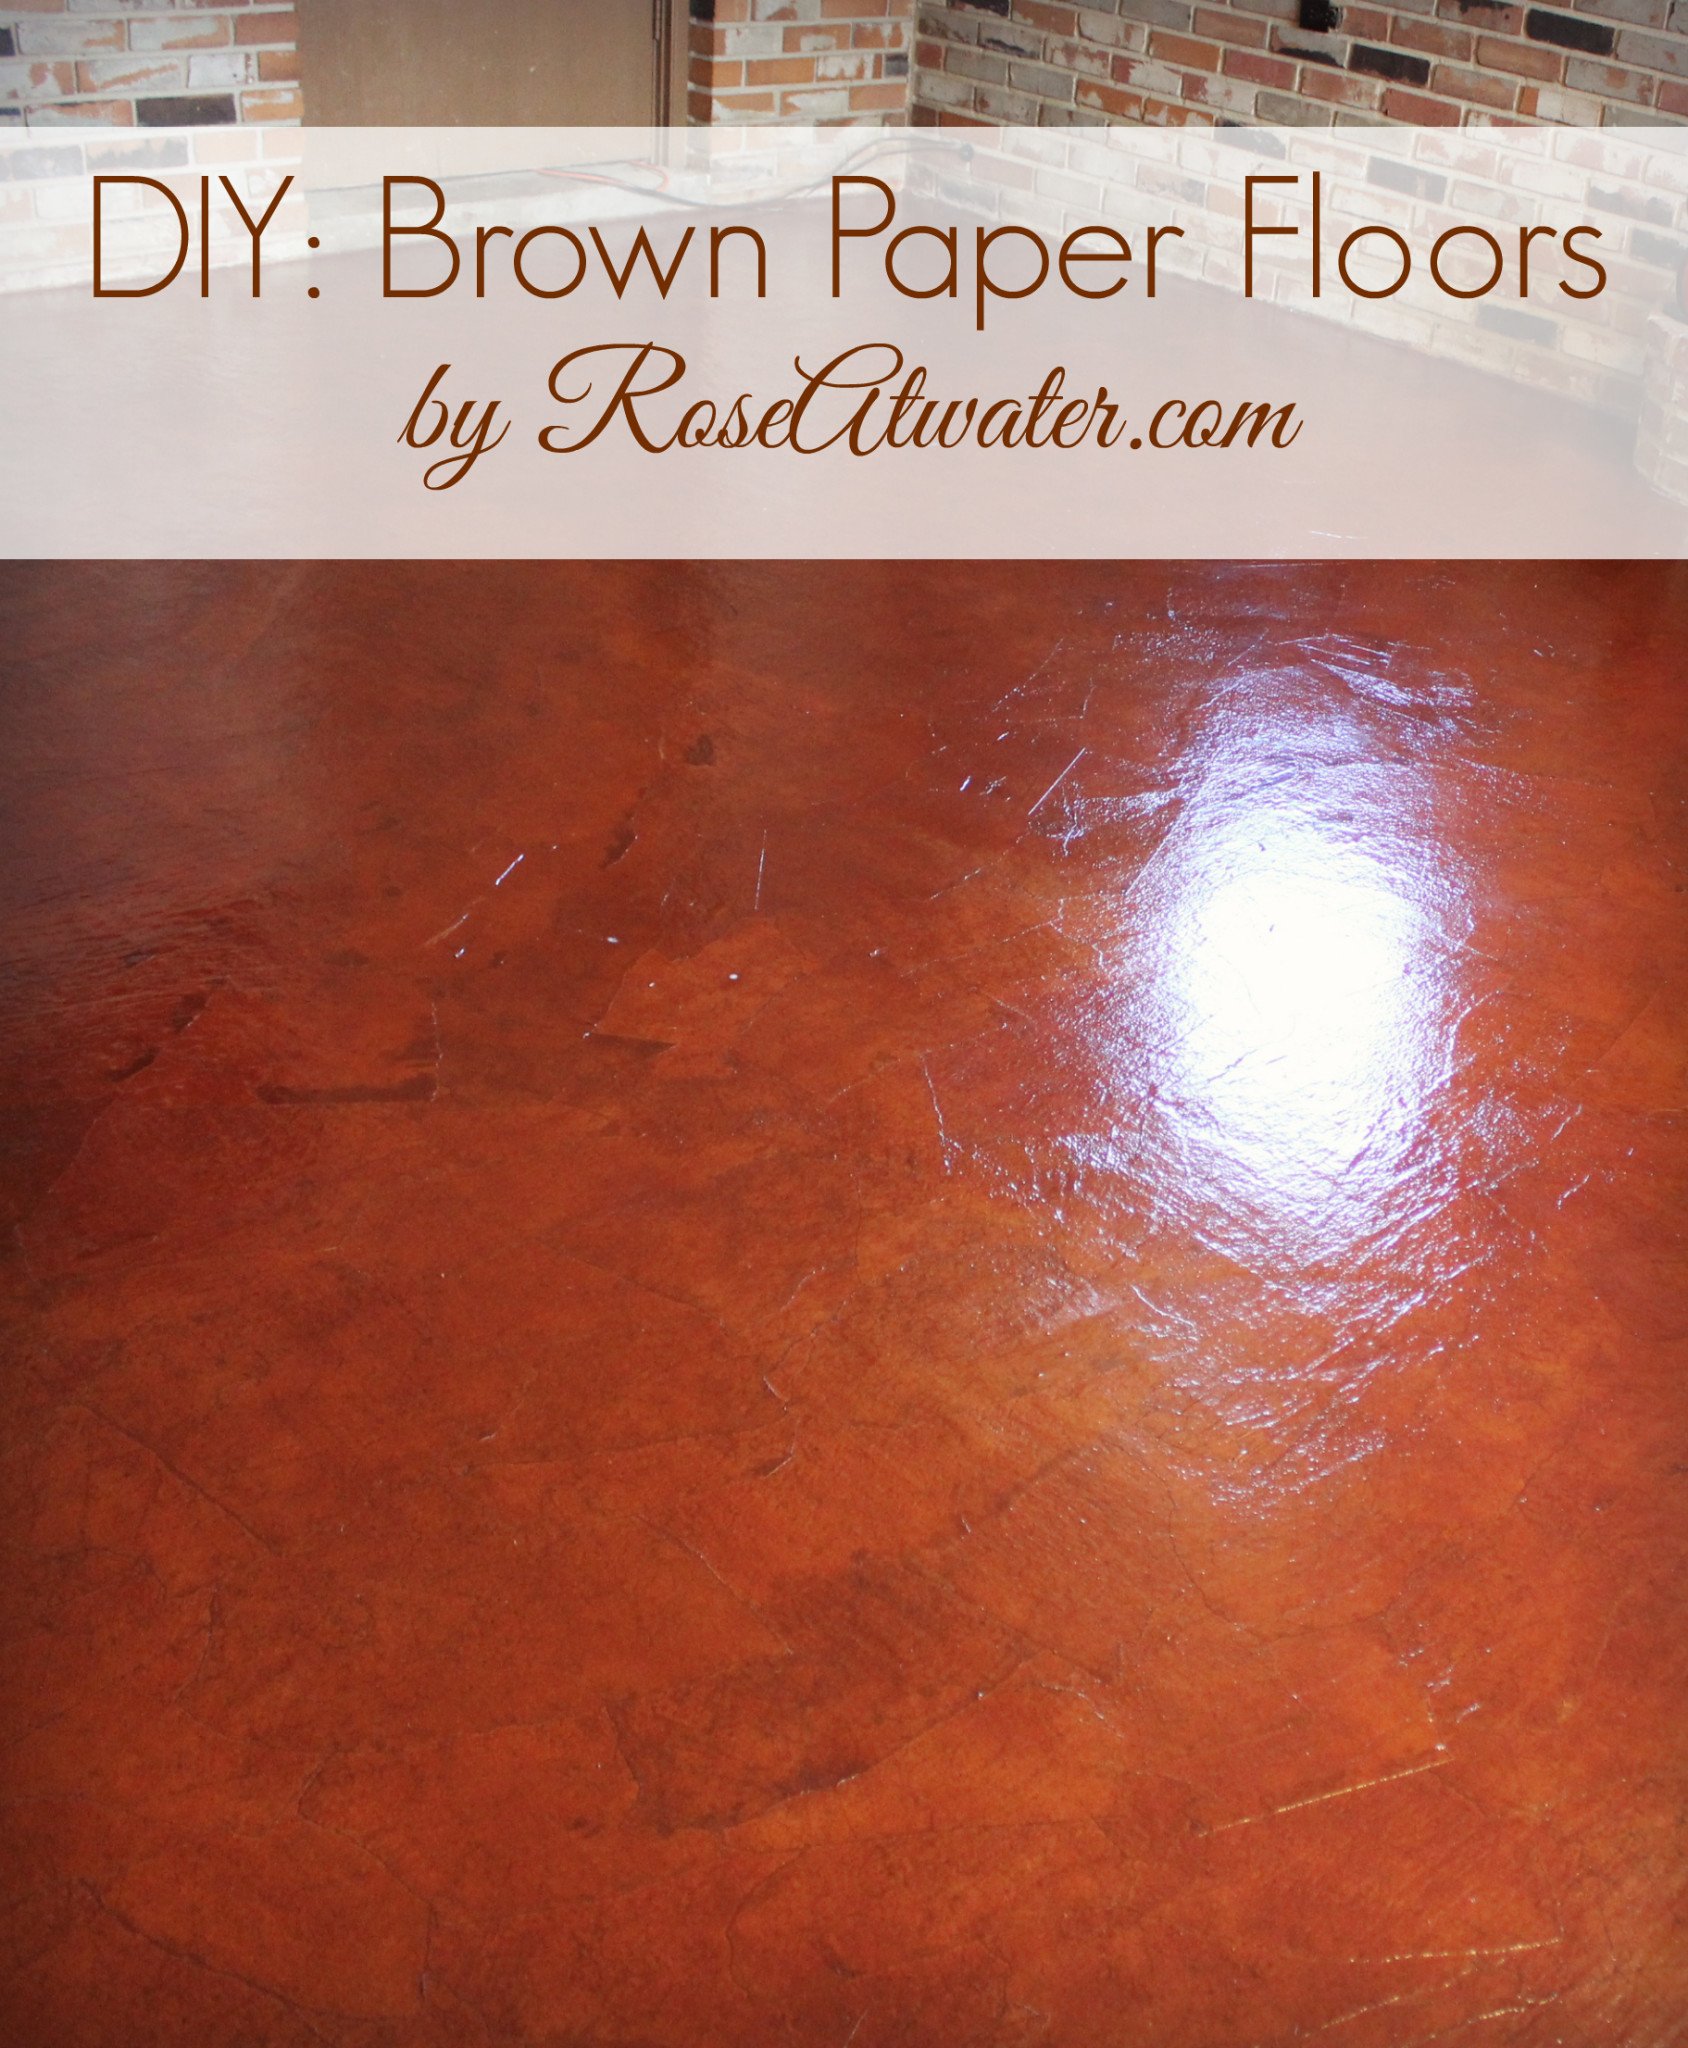
After it was done, it was time to add lights. We really wanted to go rustic and/or industrial. The floors are done with paper and the walls are brick, so nothing traditional would really “work” in here.

After much debate and going back and forth a hundred times, we finally decided on this wire track lighting. By and far the lighting cost us more than anything else in the room, but considering the floor was less than $100 and the ceiling only cost about $30 in nails… we had some money in the budget to splurge on lighting.
I have to tell you our ‘lights story’. We looked at those lights several times along with several others before finally deciding. Every time we looked at them, they were around $150 per box. We agreed that we needed 3 of them. We agreed. We looked multiple times. Did you get that??
And so we decided for sure and I ordered them.
So after he climbs in the attic and faces all the scary things up there and redoes the wiring and drilled the holes and put them all up and we’re done…
…we’re sitting on the couch looking up – admiring our beautiful ceiling… he says something like, “it’s so awesome that we got those lights for $150”. And I said, “You mean $450″…
Pause… he looks at me and his eyes got HUGE. He was genuinely SHOCKED that we spent $450 on the lights.
And then I was shocked that he was shocked. I couldn’t understand why he was so flabbergasted. Well, it turns out that somewhere in the midst of all the looking and browsing and dollar signs floating around… somewhere it stuck in his mind that it was $150 for three sets. I never told him that – but somehow that stuck. When the real price dawned on him… he was momentarily aghast.
But then I pointed out that he had, in fact, agreed to these lights and that the price had been RIGHT THERE every time we looked at them on Amazon. And I mentioned the whole “cheap floors” and “free wood” and eventually… he was able to laugh about it. We’re still laughing about it if you want to know the truth. Every time someone compliments the lights, we look at each other and grin and tell our “lights story”.
Okay – yes – we’re dorky! Ha!

Anyway… that’s it. We’re often asked if the pallets are stained and the answer is “no”! One or two of them have a blue streaks on them (more turquoise really) and I love the look of that so much that I bought blue paint with the intentions of adding a few more but it hasn’t happened yet (and my hubby never fails to point that out to me 😉 ). But as it stands now – these are completely “natural”… we haven’t changed the color or texture at all since Richy picked them up from work last year!
Do you have any questions about our DIY Recycled Pallet Ceiling? If so, leave a comment and I’ll get my husband to answer for you!
Linked up at Fridays Unfolded, Flaunt it Friday!


That had to have taken some serious patience! Wow! Only a measurement expert could do such an awesome job! 🙂
Haha! You know it Bev!! He did a fantastic job 🙂
Rose, we want to do but we have sheet rock ceilings. How do we do it?
Oooh, I’m not really sure. I’ll see if my hubby can answer and I’ll let you know.
It’s beautiful, Rose. Although, as a woodworker, I can’t imagine how hard that would be to figure out the puzzle if they weren’t all ripped to the same width!
Thanks Cynthia! It was a very long process!!
Great job! They are awesome looking!!
Wow, very nice! I think you may have helped in the addition of one more item on the “Honey Do List” for my husband!
Did you clean the boards before you put them up? With a pressure washer or anything?
My husband wiped them down, but other than that, no.
Did all the boards fit flush together or did he use some sort of wood gap filler? Looks awsome btw 🙂
They didn’t fit together flush but we just left the gaps.
Awesome work, fantastic job. I have a question about your floors. Could you repost how you sis that. Please.
Beautiful! Did you all seal the final product?
No, we left it raw.
Did you sheet rock under it ?if so how do you facentit?
No, we nailed it directly to our wooden ceiling. This room used to be a carport so the ceiling was painted plywood.
The ideal is great, it looks awsome. Been wondering how to finish my basement ceilings on the cheap, the pallet has crossed my mind. I see now that itcan be done and look good at the same time. You had mentioned that it was a carport and had plywood on it already, so you guys nailed to the substrate behind the plywood. My ceiling is open ( floor joist) overhead,
Guess going straight to the joist with furing strips can be done, not sure but, will try. Has anyone one else done it like I’m explaining or have you had any enquiries about it.
Vern, not sure if you figured this out yet, but as long as you cut your pallet boards all the same length or at least so the ends end up centered on the furring strips. However, if you have random length boards, it would be much easier to apply a wood substrate first. Something cheap like OSB would be fine. It might actually be cheaper and easier to do an OSB backer.
How big was your ceiling? W are thinking about doing this on the wall of our barn porch and made a pallet shed thus summer and love the look! Great job on your ceiling btw
The room we did it in is 16’x25′.
How did you achieve the colors?
This is how they looked when my husband got them. We didn’t stain or paint or treat them at all.
Hello!
This is beautiful and Im now solidly set on the idea for our industrial kitchen concept. We have a normal ceiling though with a second level of the house above it. How would your husband suggest applying the pallet boards to a normal smooth ceiling?!?
Thank you in advanced for your time!
KJ
He says you’d have to add strips of wood to nail them to.
Thanks so much 🙂
It looks amazing I have been saving pallets I have about 30 of them deciding on what to do I have I seen where they got a torch to get a burn . I have looked on Craigslist people giving away free pallets all the time but I think it looks amazing.
Thank you!
How did you rip apart all the pallets?
He did it with a pry bar and hammer.
Awesome job im doing a wall in my garage now that 26 feet by 10 high so I understand the work involved and I know ceiling work is alot harder! But I have a question what is paper on the floors? Thanks intrested to know!
Hi John – I have a post about it here: how to do paper floors.
Are the pallet boards all hardwood, or all softwood or a mix of everything? Im considering this for a basement but not sure if mix and matched woods will give a good look.
thanks
I’m honestly not sure – my husband collected them from work and we just used whatever was available.
hi, it looks great
are the pallets hardwood? softwood? or a mix? i plan to do a similar thing in my basement
Thanks
I’m honestly not sure – my husband collected them from work and we just used whatever was available.
Nice job on the ceiling, but I am very curious as to what are paper floors?
Thanks Kathy! I have a post about our paper floors here.
Did you have to treat the pallet wood with anything? For bugs and such?
We didn’t treat it with anything – I’m not sure if we *should* have, but we didnt’.
Great job! Tons of work!
Advice for anyone contemplating this: put 5/8 Sheetrock beneath with taped seams to act as a firebreak. With plywood as your substrate, your house would be ash before the fire department ever arrived.